Overview
When adding values to a Jet Budget, oftentimes it is convenient to base those values on last year's actual figures.
Let's look at a simple way to accomplish this...
Step-by-Step
-
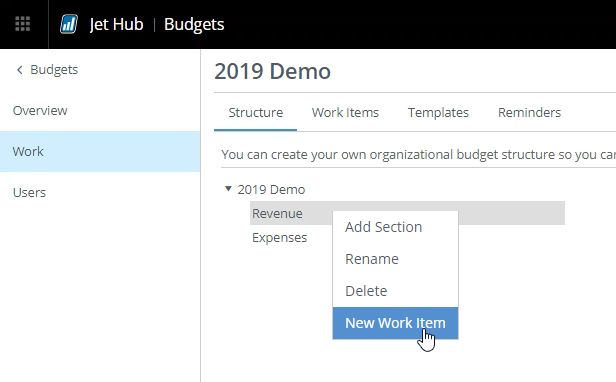
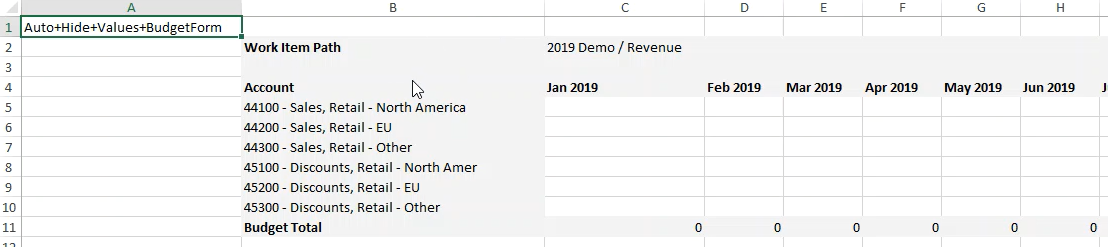
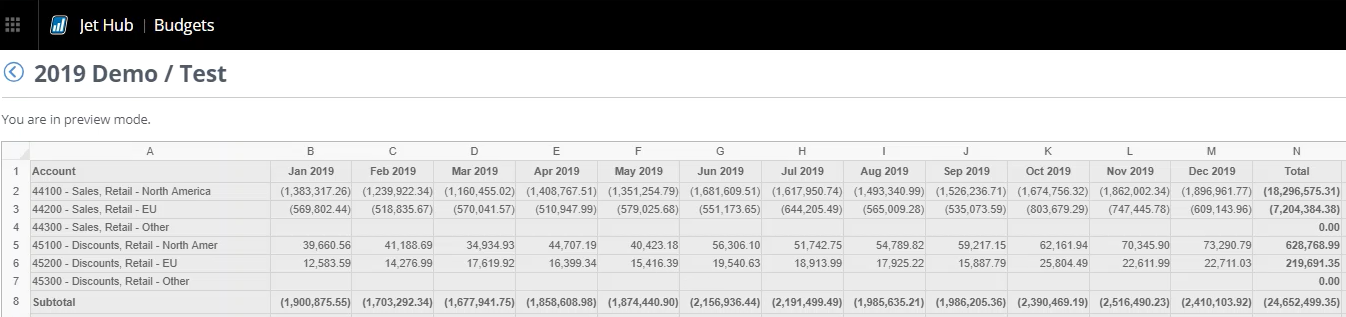
Here we see our Budget structure.
For this example, we'll add a New Work Item so as to add budget values for our Revenue section.
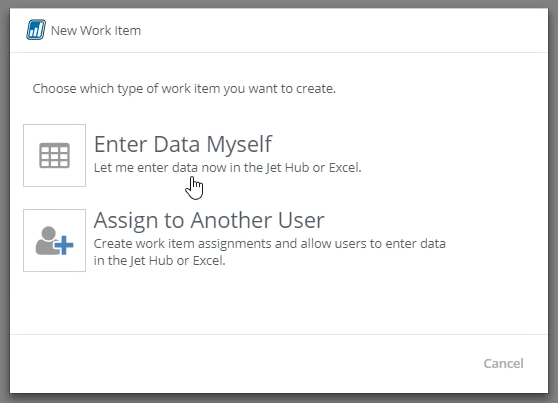
For this example, we'll enter the data ourselves:
-
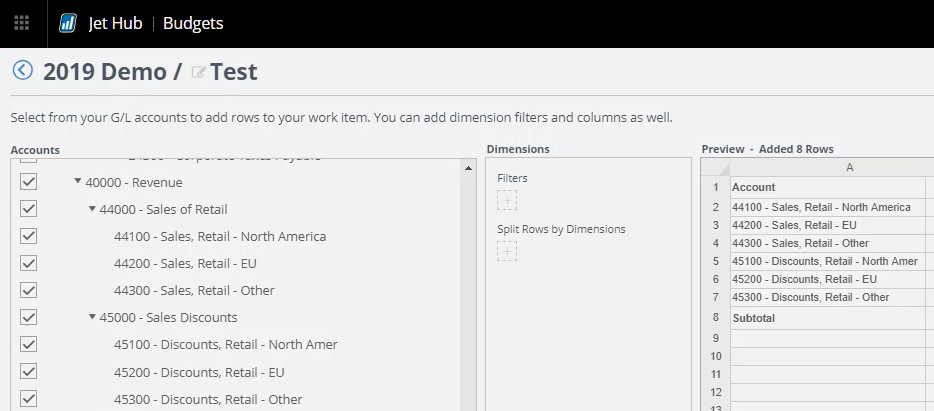
We want to select the accounts and NAV dimensions, D365 Business Central dimensions, or GP segments for which we will be entering data.
For this NAV-based example, we'll select our Revenue and Sales Discounts accounts
-
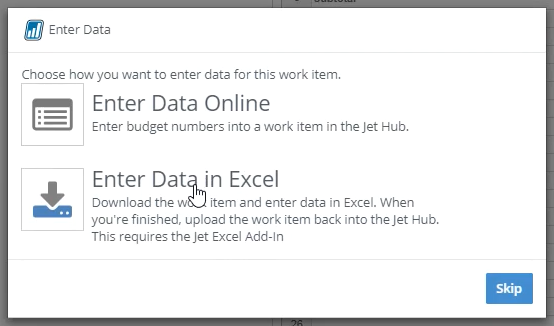
Once we've finished defining our Work Item, we need to select how we are going to enter our data.
Since we are going to be using Jet functions to retrieve actuals from our data source, we'll select Enter Data in Excel.
-
We can then download the Work Item and open it in Excel
-
To make the process simpler, we'll create a new sheet ("Sheet1") in our workbook and duplicate our account and data structure there.
First, we'll copy the account information...
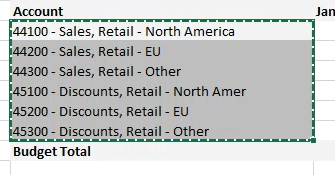
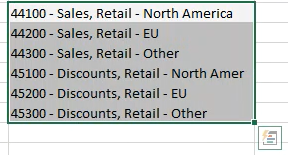
... and then paste that to our new sheet:
-
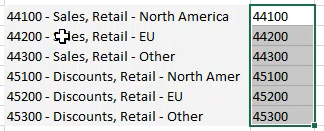
Next, we only want the account numbers (not the names) for use in the Jet GL() function.
We can use Excel functionality to extract that information:
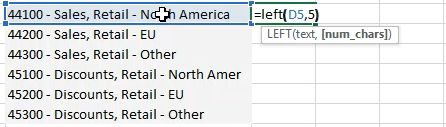
In this example, all our account numbers are 5 digits. As your account schedule will differ, you'll need to adjust the Excel function you use.We can then copy that function to the rest of our accounts:
-
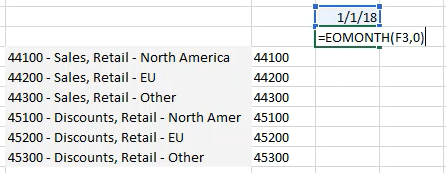
Now we want to create the date structure.
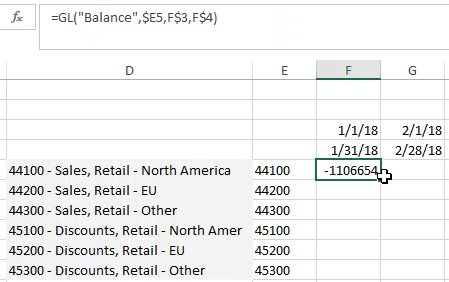
Since the Jet GL() function needs a date format (e.g, 1/1/18..1/31/18 and not "January 2018"), we'll enter the first date we need and then use Excel's EOMONTH function to calculate the last day of the month:
We can base the start of the next month on the last day of the previous month...
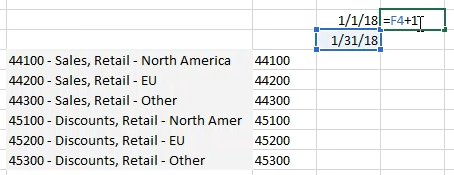
... and then copy our functions across to include all the dates we need:

-
Now we can create a Jet GL() function to retrieve the GL information for our first account during the first time period:
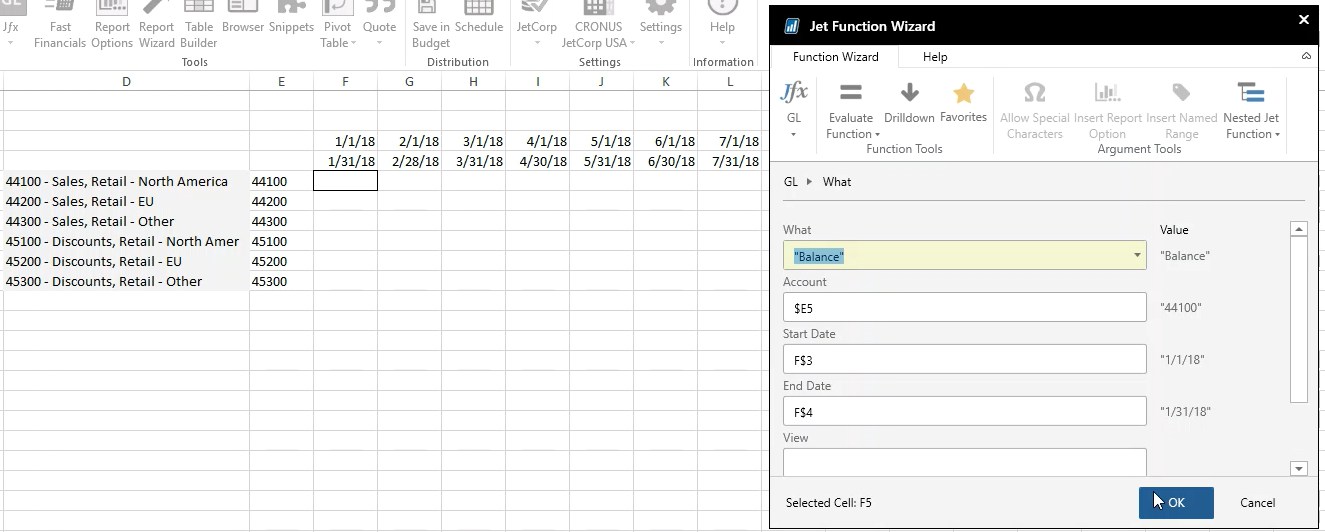 Note that we have used Excel's mixed cell referencing [with a $] to keep either the row or column from changing when we copy this function
 Note: when working with Dynamics GP, the GL() function has a different format. See GL Function for Dynamics GP for more information.
 -
Next, we'll copy that function to all the other cells in our grid:

because we used Excel's mixed cell referencing in our function, the copies reference the correct cells. -
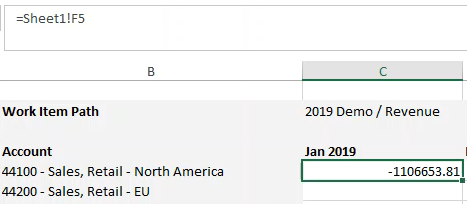
Going back to our Budget sheet, we can now add references to the data we just created:
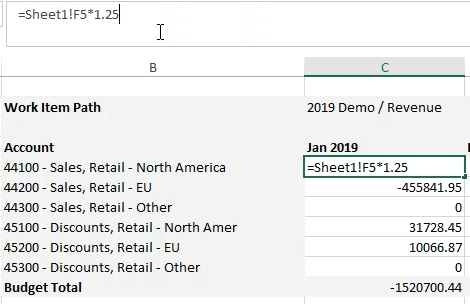
... making any adjustments we may want to the values:
-
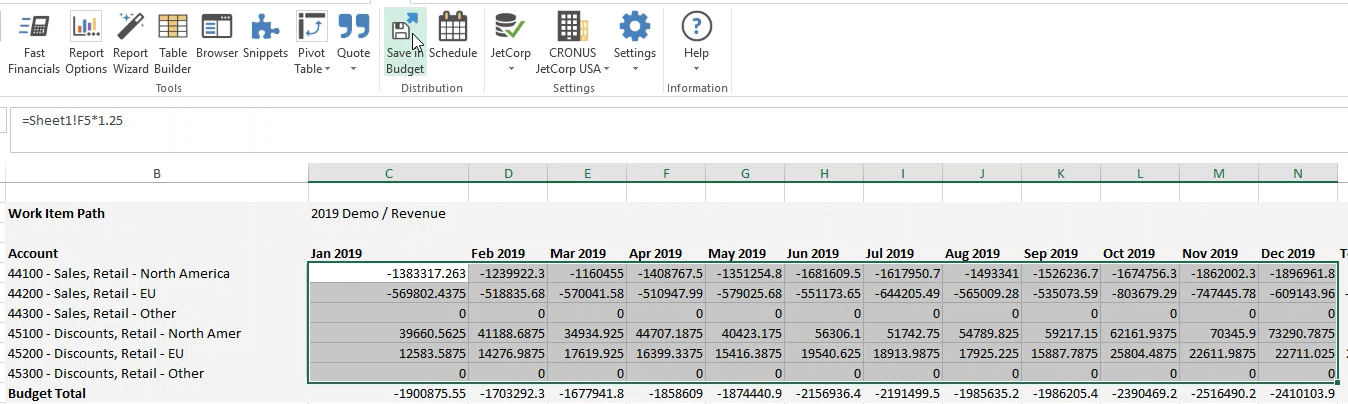
Once we have placed references to our Jet functions located on the other sheet, we can click on Save to Budget (in the Jet ribbon) to place those values in Jet Budgets.
-
Within Jet Budgets, we can then view the applicable Work Item and see the values that were entered.
-
We can then submit those values or we can return to Excel to make adjustments.
Comments