Overview
You can define a data source connection to Dynamics 2013-2018 from directly within Jet Hub.
Process
-
From the Jet Hub Admin menu, select Data Source Setup

-
On the Data Source Setup window, click the + Add Data Source button

-
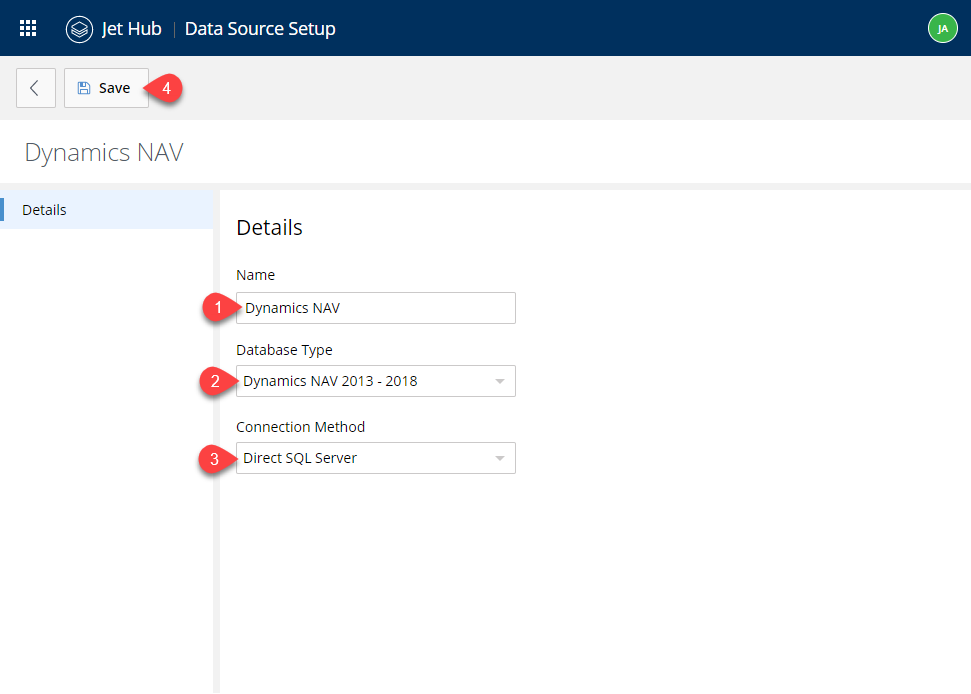
On the Details screen...
-
Give your NAV data source a descriptive name
-
For the Database Type, select Dynamics NAV 2013 - 2018
-
For the Connection Method, select Direct SQL Server
-
Click Save
-
-
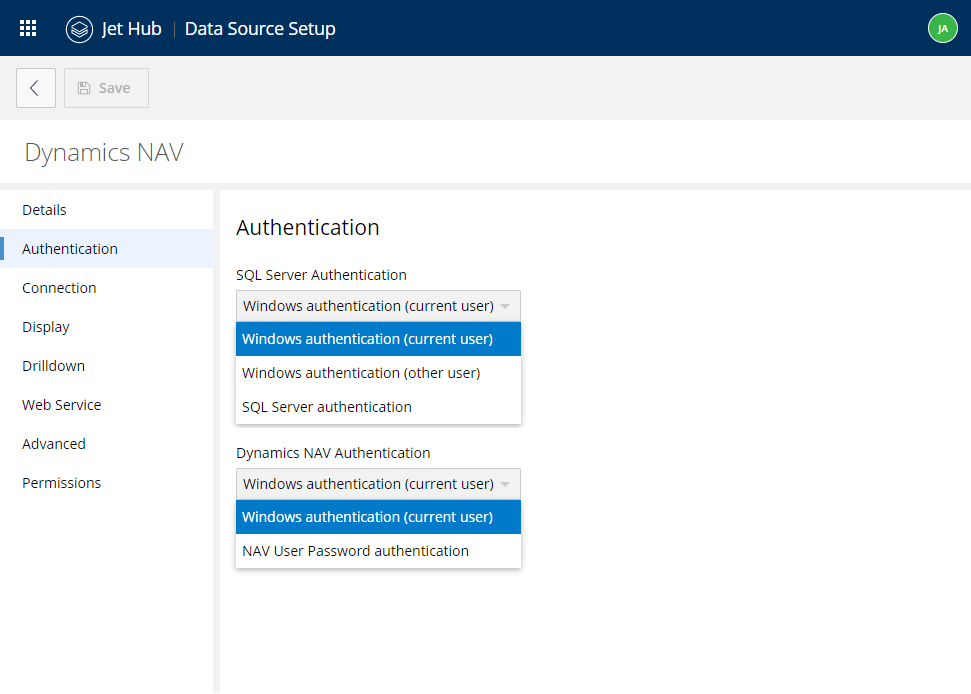
Move to the Authentication screen...
Specify the user credentials needed to connect both to the SQL Server as well as to Dynamics NAV.
-
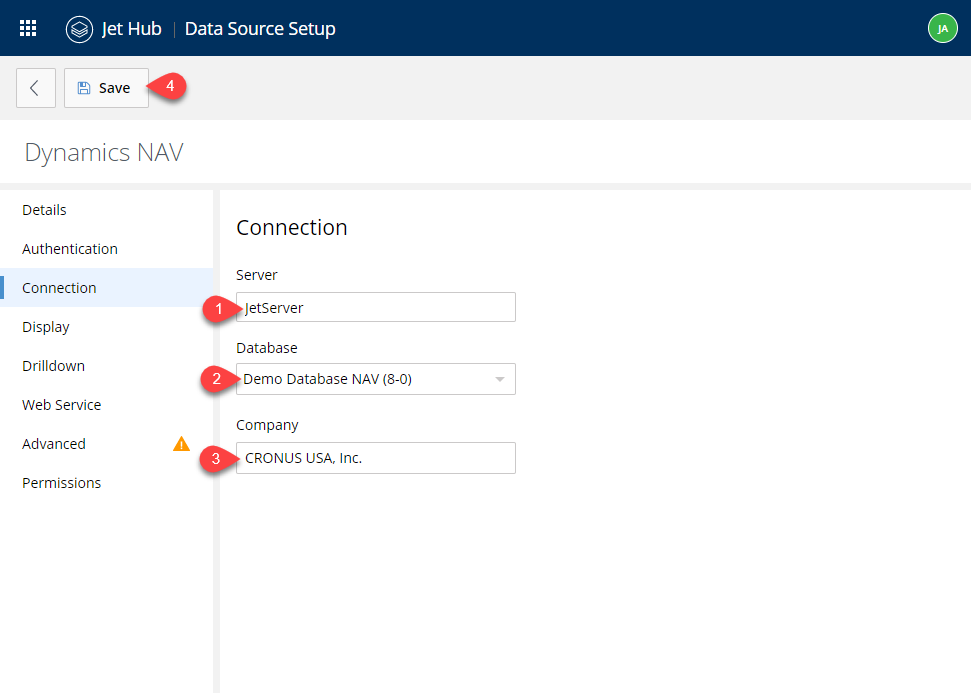
Move to the Connection settings...
-
Specify the Server name where the NAV SQL database can be found.
-
Select the name of the NAV SQL database.
-
Enter the name of the default (even if it is the only) Company name within the database.
-
Click Save.
-
-
If needed, adjust any defaults in the other settings sections (contact your system administrator or specifics).
-
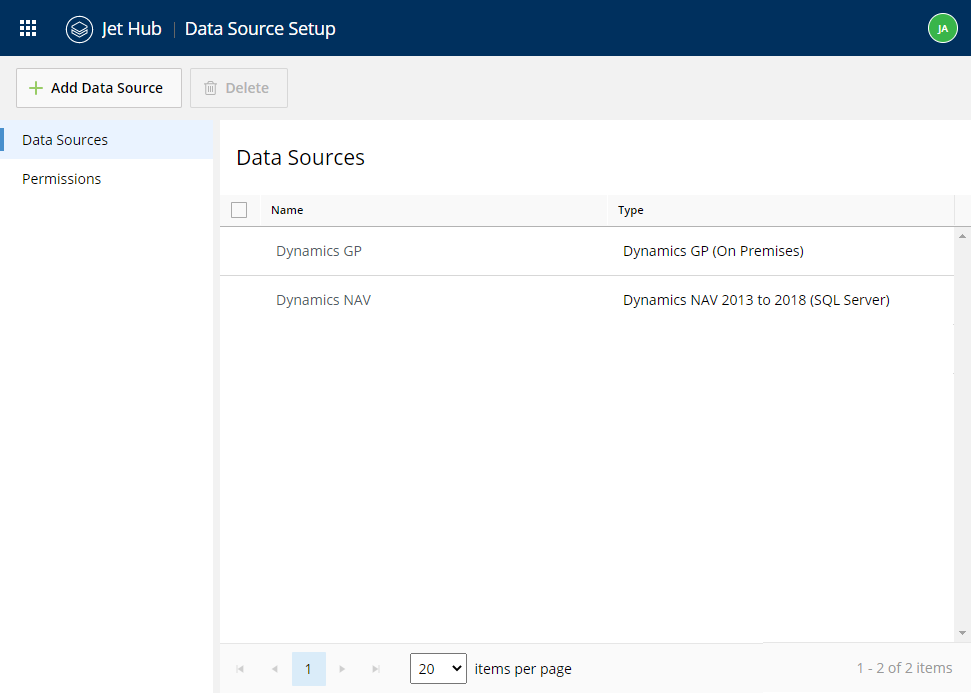
Click the back arrow next to the Save button
-
Your new data source will be displayed on the Data Source Setup screen.
Comments